Friday, July 8, 2011

Cool Down with a Blueberry Lemon Drop

Ugh is it HOTTTTT!!! WOOOOOWEEEE....and it's Friday therefore all I can think about is my little boo boo's party tomorrow and cool bevies!!

First of all Lets start of with a VERY VERY HAPPY ONE YEAR BIRTHDAY to little boo boo bunny BRODY!! Here he is enjoying his first cupcake on Tuesday!!


He is having a very special Dr. Seuss themed bash...Obvi he is Thing 1!!



Next Topic of discussion is a fabulous Blueberry Lemon Drop Martini that will keep you cool this weekend!! This is my newest and most favorite drink du jour:)
This is the recipe I found online...but i made my own modifications as shown in PINK...


Blueberry Lemon Drop

3/4 shot Absolut citron
3/4 shot Stolichnaya blueberry vodka
1/2 ounce fresh squeezed lemon juice
1 1/2 ounces simple syrup (sugar and water)  EEW GROSS!! Use Agave nectar instead...just a few drops goes a LONG way!! Shake with crushed ice, strain, serve in martini glass with sugar around rim. No Sugar needed!!
Garnish with a couple of blueberries. Better with the lemon slice...blueberries can get mushy and they stain your teeth! YIKES! 

AND VOILA!! You have the perfect summer sizzler!!


Keep Cool and Check back soon for some design updates!!

XOXO, Mrs S

Thursday, July 7, 2011

Update!! Update!! Bella blue bell is complete!!

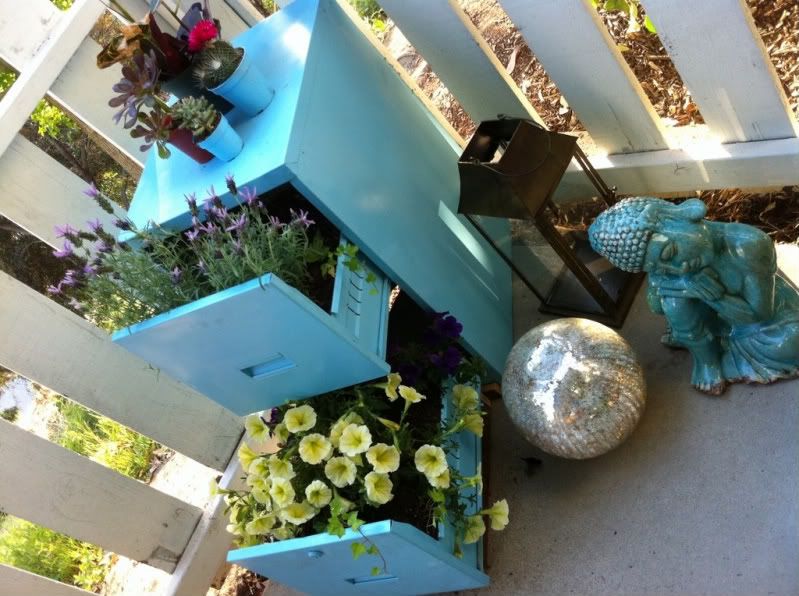
You know when you spray paint so much your pointer finger and thumb are all noodley?? Yea I have that!!! Butttttt after many hours of painting, potting and primping my newest piece of decor is (almost) COMPLETE!! I have named her Bella Blue Belle as you can tell from the title and she is perfect:)

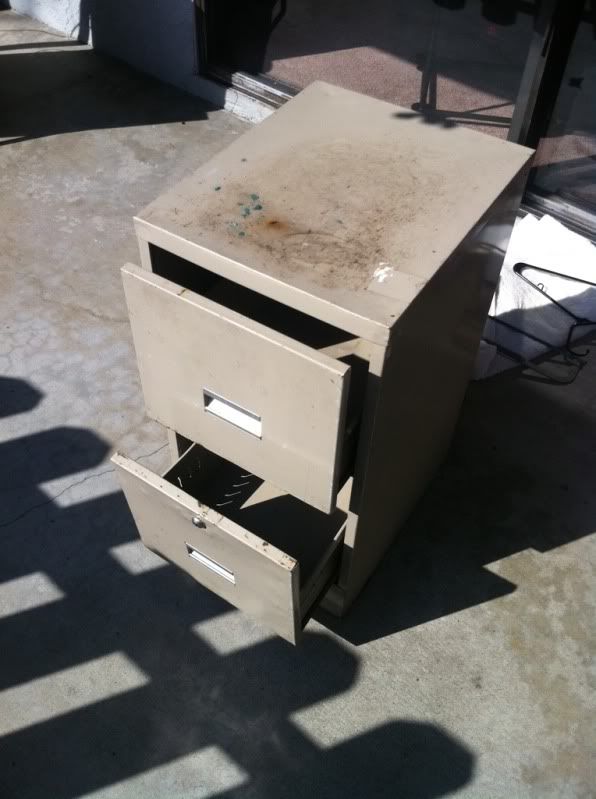
I started this piece of junk...


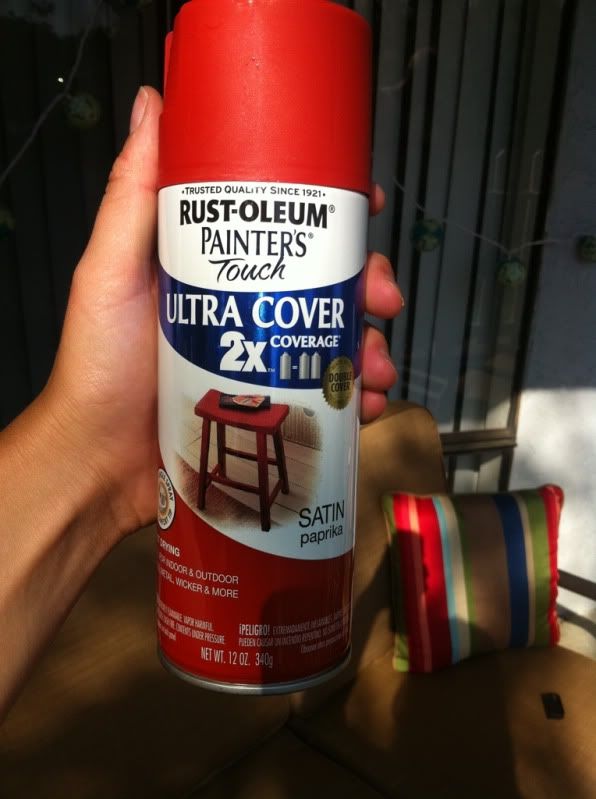
Bought a few cans of spray paint from Home Depot...each under $3!! (Please note that I changed the color from Paprika to Satin Turquoise)


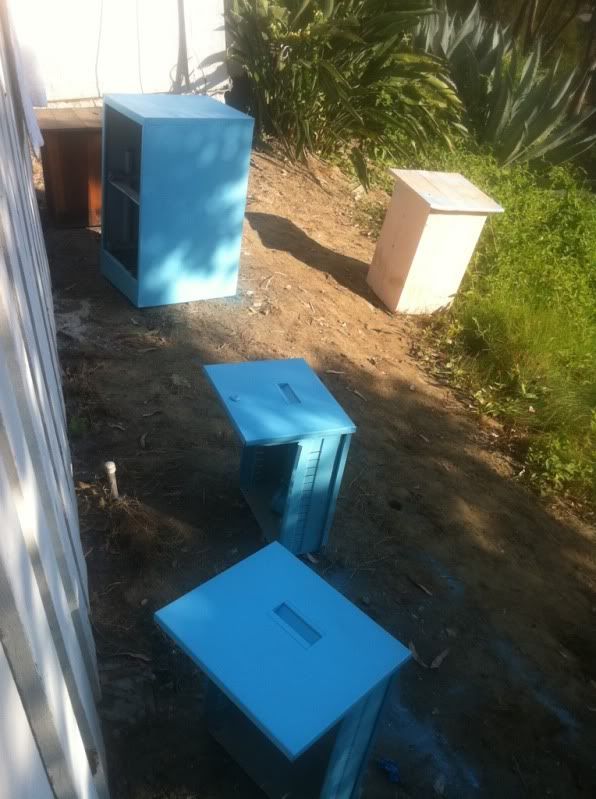
Took each part and spray painted them separately.  I made sure to do 2 coats of paint to completely cover over any preexisting "stains" on the cabinet and then let them air dry for 30 minutes.


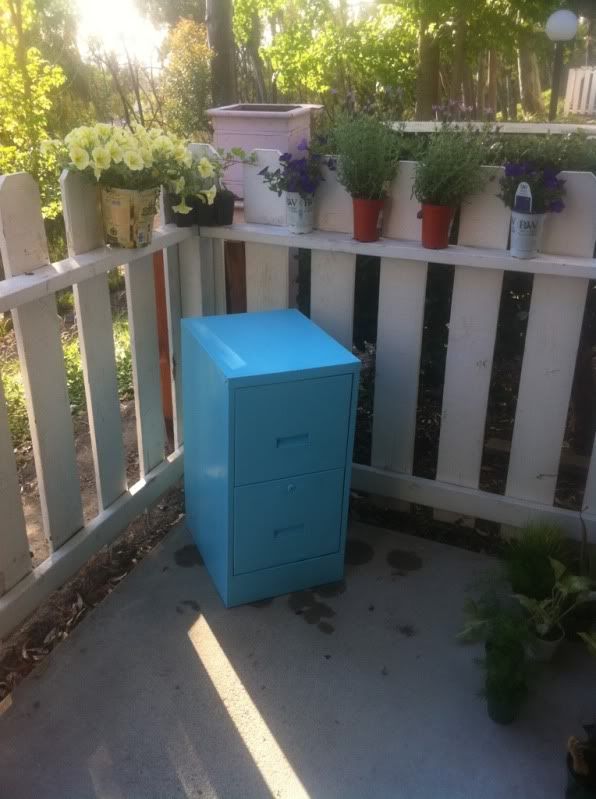
Once dry, I reassembled the cabinet and placed it in the corner of the patio (Also the best area of sunlight to shade ratio during the day). As you can see I have the flowers up above which included Ivy, Lavender and purple and yellow perennial geraniums.


HB  punched holes into the bottom to help rust from forming on the inside.  I'm sure our neighbors loved that hammering noise!!


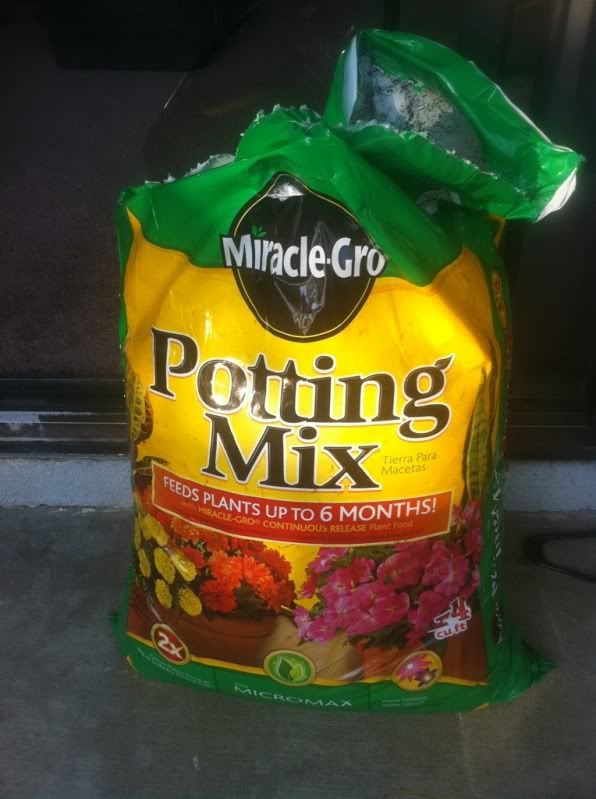
I then filled both drawers to the BRIM with Miracle Grow potting Mix ($6 for the large bag) and lightly packed it down. I put the geraniums in the bottom drawer since there would be more shade and the lavender on the top drawer since it can withstand more sun. Each drawer also has 3 ivy plants to help create the "dripping" effect I would eventually like to see from the plants.


After a little TLC and creativity...I GIVE YOU BELLA BLUE BELL!!!

Soon enough the plants will start to grow outside of the boxes and form the overgrown look I am trying to achieve. I am also going to add some hardware to the outside of the drawers to give it a more vintage look and make name tags for each of the flowers represented.

the one thing I love about DIY projects is that they are always changing....maybe next year ill paint it a new color....in a few months I may change out the plants....who knows!!

Hope you enjoyed this Dime Design!! Up next is the challenge of repairing a vintage chandelier from the 40's....

xoxo,

Mrs. S

Wednesday, July 6, 2011

Recycled Resourcefulness: The Art of Making Something Old...NEW!

So my adorable Husbunny and I moved into an apartment a month ago and have been spending double duty trying to make it a very chic form of "us". I have to commend my husband for all of his hard work...installing chandeliers, dusting Tiffany's boxes and dealing with me rearranging three vases for 45 minutes until I placed them in the same exact position they started in. He takes my neurotocism (is that a word?...just spell checked and no it's not but just work with me here) with stride.

Let me begin by describing our apartment and the owner of this lovely multi family unit. His name is Art and he is ancient...and utterly adorable. He and his wife live down the street in a very nice neighborhood and collect...EVERYTHING. The apartment is a one bedroom stuck in the middle of two, two story apartments...so basically we are the PB&J between two glorious pieces of Wonderbread. The apartment is fairly dark with dark beige carpets, old appliances, no lights in the bedroom and a nasty bathroom...BUT it's ours. Our goal in finding an apartment was to find something live-able until we can buy something...HOPEFULLY within the year. The patio is large and overlooks a CVS parking lot but if you look straight out all you can see are trees and mountains...and we have an incredible breeze.

I wish I had taken "before" pictures of the apartment so you could get an idea of what we started with. It took a lot of elbow grease to clean the place up but it's in pretty good shape now.

NOW...to get to my post!!!

The prior renters left us an assortment of children's toys under the oven and an old two drawer filing cabinet full of band aids (EEEW!) and old rusty hangers. I mean obviously those should be stored together...Rust and Band aids go hand in hand, right?!? So, I had this GENIUS idea the other night to turn our drab patio into an island oasis.... Minus the water and minus the sand...OKAY just an oasis! In order to do so we needed Plants...and lots of them! But...I didn't want to spend the money on some gorgeous pots I had my eye on at Home Goods...so I did what an domestic goddess would do...ILL MAKE MY OWN PLANTER!!

Hooray for the leftover Filing Cabinet!!! I cleaned that bad boy out last night (gag!), spent $30 at home depot and purchased, 6 ivy plants, 2 lavender plants, 6 containers of moss, and some other flowers I cant remember their names, plus soil and 2 cans of spray paint.


Well...this idea in my mind is a grand one and I have yet to make it so I will update as soon as it's made and let you know how it goes WITH before and after photos!!!...wish me LUCK little lovies!!

XOXO,

Mrs. S